Содержание
Article ID: 55145586
Details
Assigning IP address and installing network driver for Zebra ZXP Series 1 and ZXP Series 3
Zebra ZXP Series 1 and ZXP Series 3 Card Printers
You must have a printer configured for ethernet connectivity as well as an active network cable to connect to the unit. Also, please ensure you have downloaded the current drivers and firmware for the printer from Zebra.com. Read More>>
Printers configured with an ethernet port do not need to be locally connected to a PC via USB to print. If you have ethernet connectivity you can configure the printer for your network and allow for printing from multiple workstations to the one printer.
The first step is to connect your network cable to your printer. If your network has DHCP enabled and will assign an IP to the printer, continue moving through the steps below. If your network will not assign an IP address to the printer, click the following link for instructions on assigning an IP to a printer that will not receive a DHCP address from the network. Read More>>
Setting IP Address and other Network Settings:
In order to find the IP that your network has assigned to the printer you will need to turn the printer off, hold in the feed button on the front of the printer under the LCD and turn the printer on while continuing to hold the button in until you see "Printer Info" displayed:

Once you see Printer Info displayed, press the front panel button several times until you see IP Address:

You can then use the printer’s web interface to modify the network settings. Type the IP address into a web browser (Internet Explorer, Mozilla Firefox, Google Chrome, etc.) and you should see the web interface displayed:

Click on Network Settings and you will be prompted for a login. The username is admin and the password is 1234. This will grant you entry to modify the network settings:

Make the necessary changes and then click submit to send the new configuration to the printer. Please allow a few minutes for the unit to re-establish connection to the network using the new settings.
Note: When installing the ZXP driver for the printer, if you select ethernet printer the wizard will attempt to search for the printer on your network. It should detect the printer by IP address (this will not allow for changing of network settings, it is strictly for detection of the printer on the network). The steps above are still required to set a static IP on the unit.
Installing the Network Driver for the Printer:
Download the driver for your printer from Zebra.com. Below are links to each printer’s support and downloads page:
ZXP Series 1 Read More>>
ZXP Series 3 Read More>>
Once downloaded, run the installation wizard. Click next until you reach the option of installing either a USB or Ethernet Printer, select Ethernet:

After clicking Install Ethernet Printer Drivers, click next until you reach the portion where the wizard attempts to detect your printer on the network. It may find the printer and display the IP address with which you can just select the printer and click next. If it does not find the printer, you will have to manually enter the IP address you have assigned to the printer or the IP address that the network has assigned to the device:

Once this step is done, you can hit next until the wizard is completed. Once complete, test communication by printing a test card through the driver. If this prints, your printer is setup on the network and communicating through the Windows print driver.
Printing a test card through the driver Read More>>
If issues are encountered check to ensure you have current drivers and firmware installed Read More>>
Download the latest Zebra ZXP Series 3 driver for your computer’s operating system. All downloads available on this website have been scanned by the latest anti-virus software and are guaranteed to be virus and malware-free.
Find All Zebra ZXP Series 3 Drivers
Browse the list below to find the driver that meets your needs. To see more matches, use our custom search engine to find the exact driver.
Tech Tip: If you are having trouble deciding which is the right driver, try the Driver Update Utility for Zebra ZXP Series 3. It is a software utility that will find the right driver for you — automatically.
DriverGu >Windows drivers available for free download. We employ a team from around the world. They add hundreds of new drivers to our site every day.
Having trouble finding the right driver? Try the Automatic Driver Update Utility, or you can request a driver and we will find it for you.
Установка драйвера принтера в ОС Windows
Принтер для карточек Zebra ZXP Series 3: руководство пользователя
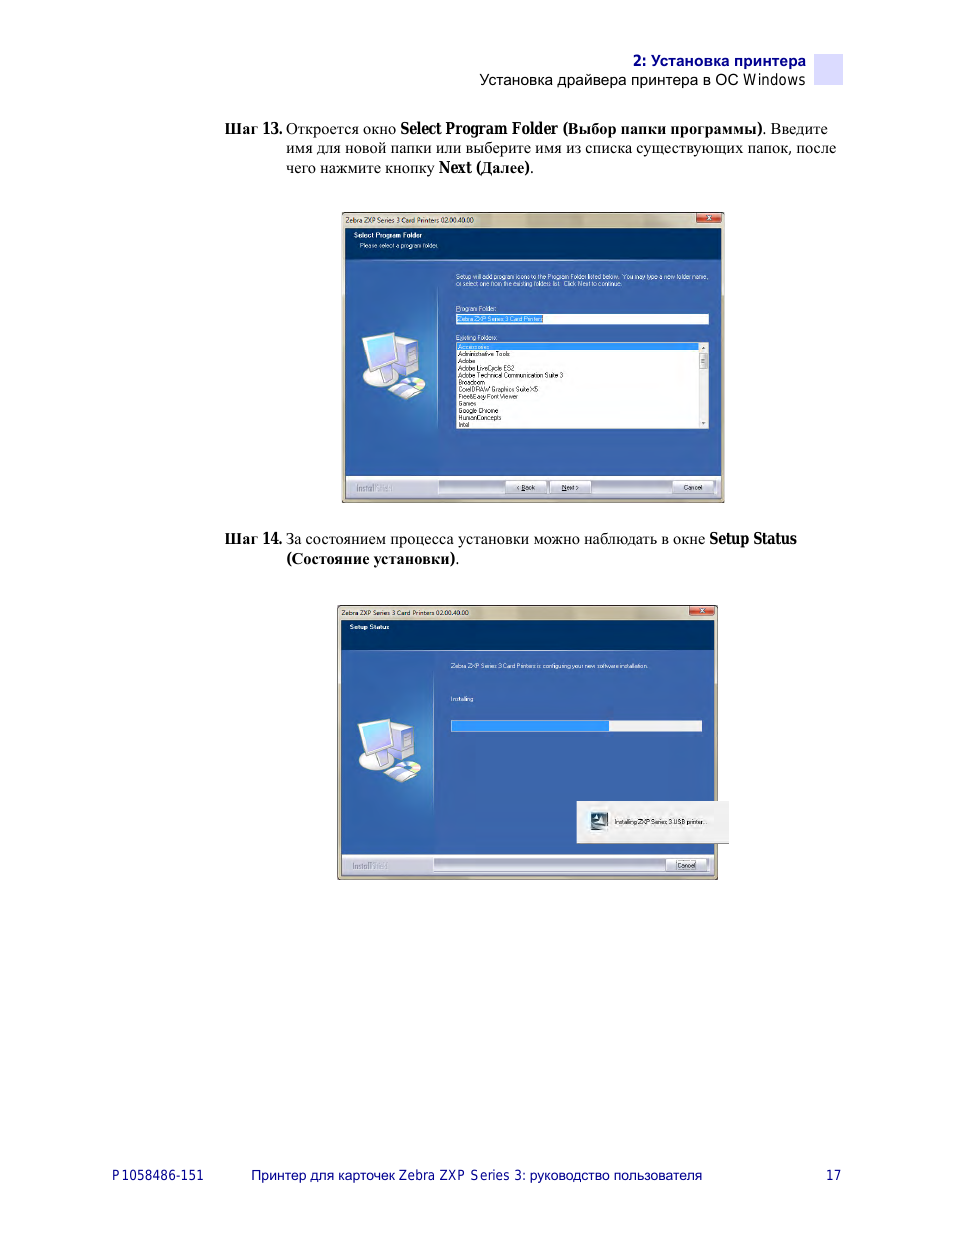
Шаг 13. Откроется окно Select Program Folder (Выбор папки программы). Введите
имя для новой папки или выберите имя из списка существующих папок, после
чего нажмите кнопку Next (Далее).
Шаг 14. За состоянием процесса установки можно наблюдать в окне Setup Status
Принтер для карточек Zebra ZXP Series .
Принтер для карточек Zebra ZXP Series 3: руководство пользователя
Установка драйвера принтера в ОС Windows
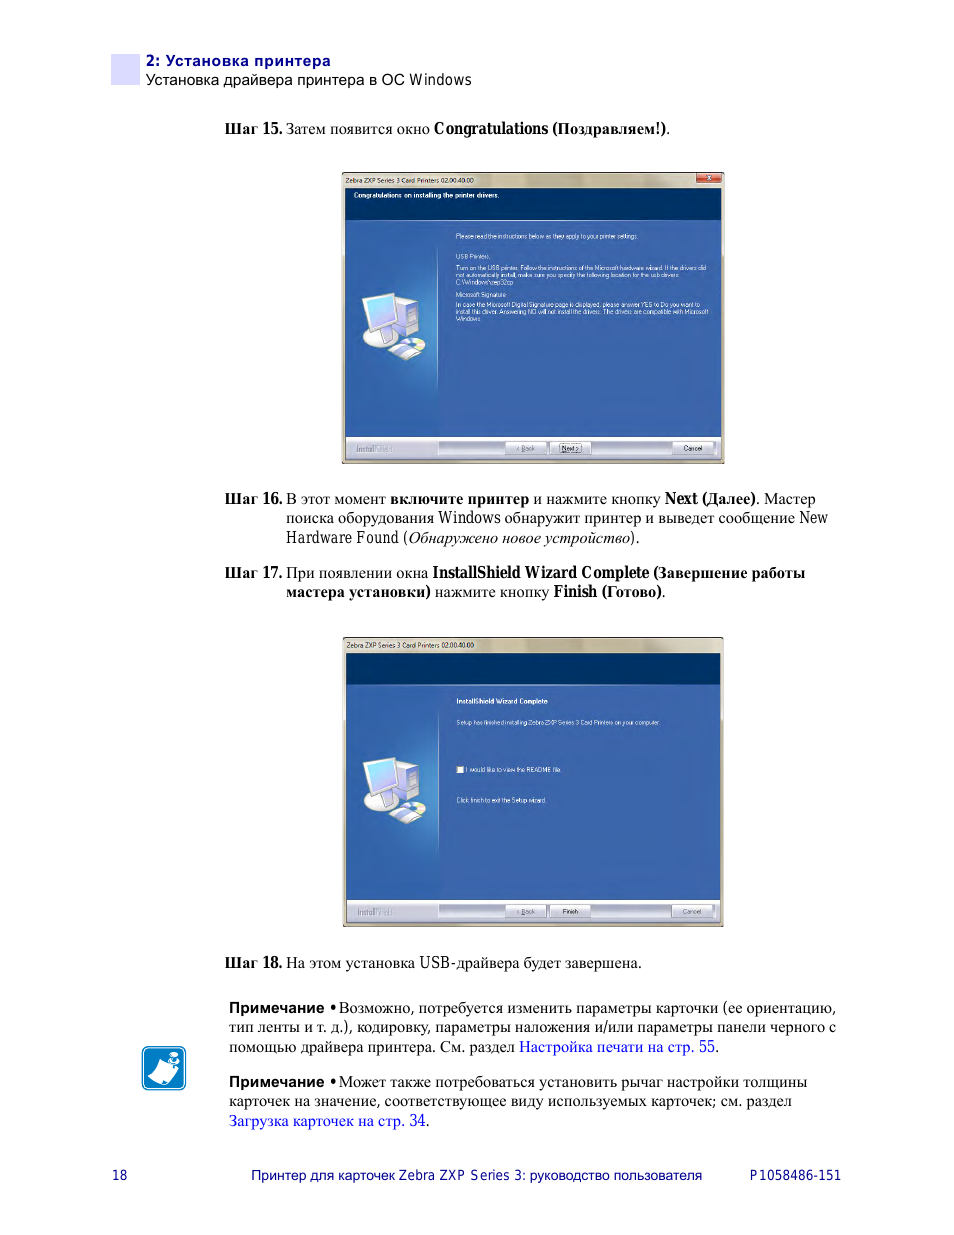
Шаг 15. Затем появится окно Congratulations (Поздравляем!).
Шаг 16. В этот момент включите принтер и нажмите кнопку Next (Далее). Мастер
поиска оборудования Windows обнаружит принтер и выведет сообщение New
Hardware Found (Обнаружено новое устройство).
Шаг 17. При появлении окна InstallShield Wizard Complete (Завершение работы
мастера установки) нажмите кнопку Finish (Готово).
Шаг 18. На этом установка USB-драйвера будет завершена.
Возможно, потребуется изменить параметры карточки (ее ориентацию,
тип ленты и т. д.), кодировку, параметры наложения и/или параметры панели черного с
помощью драйвера принтера. См. раздел
Может также потребоваться установить рычаг настройки толщины
карточек на значение, соответствующее виду используемых карточек; см. раздел
Установке ethernet-драйвера принтера
Установка драйвера принтера в ОС Windows
Принтер для карточек Zebra ZXP Series 3: руководство пользователя
Установке Ethernet-драйвера принтера
Шаг 1. Если это еще не сделано, подключите принтер к источнику питания. Включите
Шаг 2. Соедините Ethernet-порт на задней панели принтера с сетевым оборудованием
или непосредственно с Ethernet-портом компьютера.
Шаг 3. Убедитесь, что выключатель питания принтера установлен в положение ВКЛ ( | ).
Шаг 4. Вставьте в CD-привод компьютера компакт-диск с пользовательской
документацией и драйверами. Появится Main Menu (Главное меню).
Шаг 5. В Главном меню выберите пункт Install Printer Driver (Установить драйвер
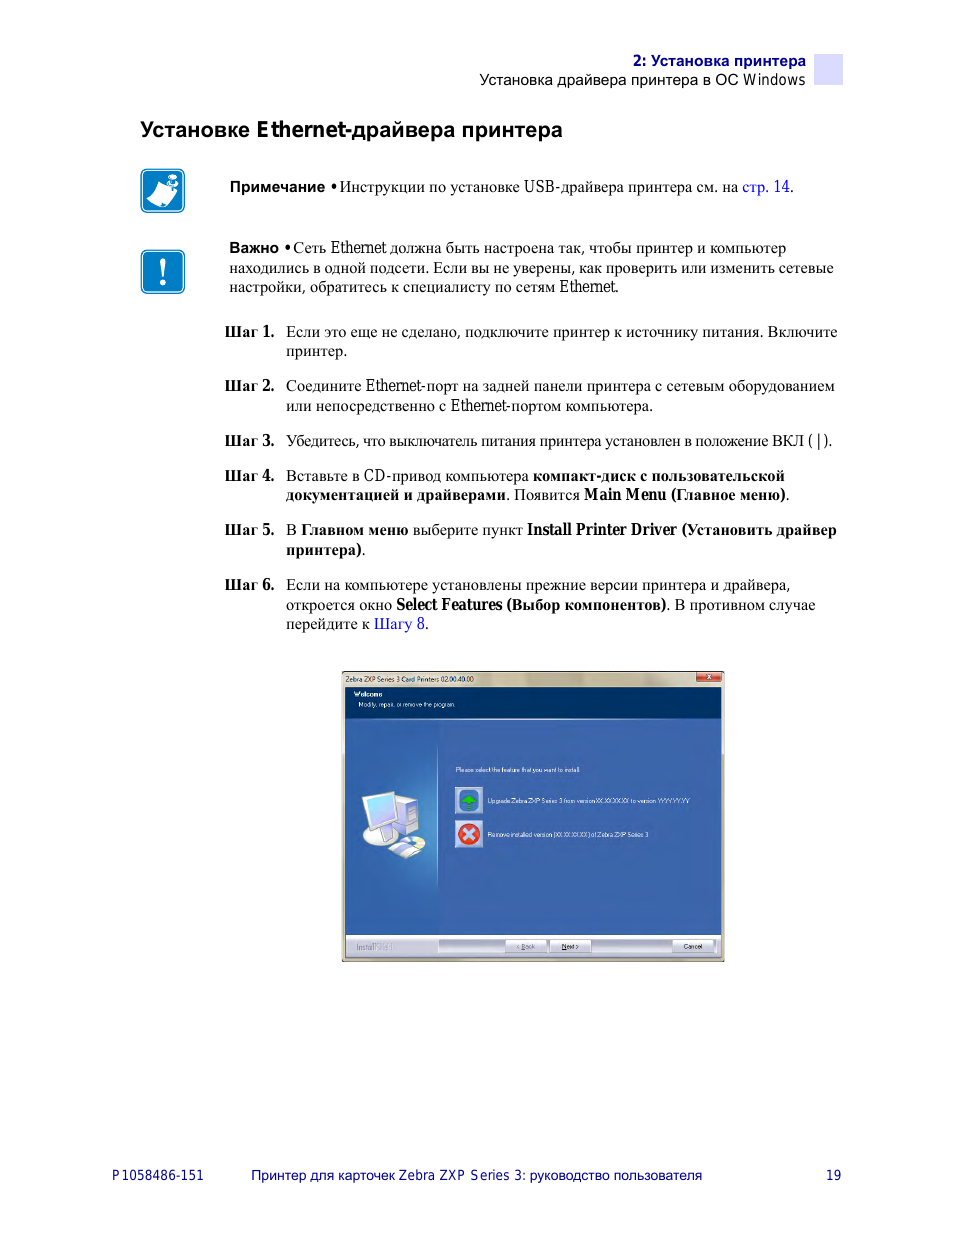
Шаг 6. Если на компьютере установлены прежние версии принтера и драйвера,
откроется окно Select Features (Выбор компонентов). В противном случае
перейдите к
Инструкции по установке USB-драйвера принтера см. на
Сеть Ethernet должна быть настроена так, чтобы принтер и компьютер
находились в одной подсети. Если вы не уверены, как проверить или изменить сетевые
настройки, обратитесь к специалисту по сетям Ethernet.
Принтер для карточек Zebra ZXP Series .
Принтер для карточек Zebra ZXP Series 3: руководство пользователя
Установка драйвера принтера в ОС Windows
Шаг 7. В окне Select Features (Выбор компонентов) выберите действие, которое
чтобы обновить более раннюю версию драйвера
принтера, нажмите кнопку Next (Далее) и следуйте указаниям на экране.
По завершении процесса будет предложено перезагрузить компьютер.
Перезагрузите компьютер. Обновление завершено.
, чтобы удалить более раннюю версию драйвера принтера,
нажмите кнопку Next (Далее) и следуйте указаниям на экране. По
завершении процесса удаления будет предложено перезагрузить
компьютер. Перезагрузите компьютер и повторите действия начиная с
Шаг 8. Откроется окно мастера установки InstallShield Wizard. Чтобы продолжить
установку, нажмите кнопку Next (Далее).